
A lot of people end up here after trying to “stretch it out” for weeks.
Maybe your outer hip starts barking a couple miles into a run. Maybe stairs feel oddly wobbly. Maybe you are a new parent and every time you shift weight to one leg while carrying your baby, your hip or low back lets you know about it. The frustrating part is that nothing seems dramatic enough to explain why it keeps happening.
One common piece of that puzzle is a gluteus medius that is weak, underactive, or constantly getting replaced by the wrong muscles. That is where lying hip abduction earns its place. It looks simple. It is not flashy. But when it is done well, it can become one of the most useful starting points for rebuilding hip stability.
I like this exercise because it strips the job down to its essentials. On the floor, you can stop chasing bigger movement and start paying attention to better movement. That matters if your goal is less pain, more control, and a cleaner return to walking, lifting, running, or sport.
If you also feel generally stiff around the hips and pelvis, good hands-on work can complement strengthening. This overview of mobility massage therapy does a nice job explaining how soft tissue treatment can support movement work without replacing it.
That Nagging Hip Pain Might Have a Simple Solution
The runner with outer hip pain and the parent who feels unstable on one leg often share the same problem. Their hip is not handling load well.
The body usually finds a workaround. It leans, twists, grips with the front of the hip, or borrows motion from the low back. That can keep you moving for a while, but it is not a great long-term plan.
Why this exercise matters
Lying hip abduction targets the lateral hip muscles, especially the gluteus medius. That muscle helps keep the pelvis level when you stand on one leg. Since every step includes a single-leg moment, that job matters all day long.
When the gluteus medius does not contribute enough, people often feel one or more of these:
- Outer hip irritation during running, walking, or side sleeping
- Low back tension that shows up during simple daily tasks
- Poor balance when stepping, pivoting, or standing on one leg
- Knee collapse during squats, stairs, or landing mechanics
What usually works and what usually does not
The fix is rarely “just do more clamshells forever” or “add ankle weights immediately.”
What works is slower and smarter:
- Teach the right muscle to engage
- Clean up the common compensation patterns
- Build control before load
- Progress the exercise into standing and single-leg tasks
If lying hip abduction feels easy but your hip still does not feel stronger, form is usually the issue. The most common problem is not lack of effort. It is the wrong muscle doing the work.
That is why this move belongs in rehab plans for runners, field sport athletes, postpartum patients, and plenty of people who just want to walk, train, and sleep without that constant side-of-hip ache.
Meet Your Gluteus Medius Your Hip's Unsung Hero
The gluteus medius sits on the outer side of your hip. Its main job is to abduct the hip, which means moving the leg away from the body. In real life, it also helps hold the pelvis steady when you are on one leg.
That sounds technical, but you feel it in very normal situations. Walking. Climbing stairs. Getting out of the car. Running. Cutting sideways. Standing to put on pants.
The muscle we want and the muscle that cheats
When people try lying hip abduction, they often think, “Lift leg up, done.” That is where things go sideways.
Your body has helpers nearby, and one of them loves to jump in early. The tensor fasciae latae, or TFL, sits more toward the front and side of the hip. It is not a bad muscle. It just becomes a problem when it takes over a job that should belong mostly to the gluteus medius.
The distinction between hip abduction and hip flexion is a big deal. Hip abduction is anatomically limited to about 45 degrees, and going beyond that often shifts work toward the TFL instead of the gluteus medius, as explained in ACE’s breakdown of the side-lying hip abduction.
What that means in plain language
If your top leg drifts forward, if your toes turn up, or if you chase height instead of control, you are usually no longer doing the exercise you think you are doing.
Consider this simpler perspective:
- Gluteus medius work often feels like effort in the side-back pocket area
- TFL takeover often feels like gripping in the front or side-front of the hip
- Low back compensation often feels like a side crunch or trunk hitch instead of a clean leg lift
Who needs to pay extra attention
Some people compensate more aggressively than others:
- Postpartum patients who are rebuilding pressure control and trunk stability
- Runners who spend a lot of time in single-leg stance
- People with previous hip, knee, or ankle injuries whose movement pattern changed after pain
- Athletes who need lateral power but keep training on top of shaky hip control
The goal is not to lift your leg as high as possible. The goal is to move your leg without your pelvis, low back, or front hip stealing the work.
Once you understand that, lying hip abduction stops being a generic floor exercise and starts becoming a very specific motor-control drill.
How to Perform the Lying Hip Abduction Perfectly
Many individuals perform this exercise too big, too fast, and too loose.
The better version looks almost boring. That is a compliment.
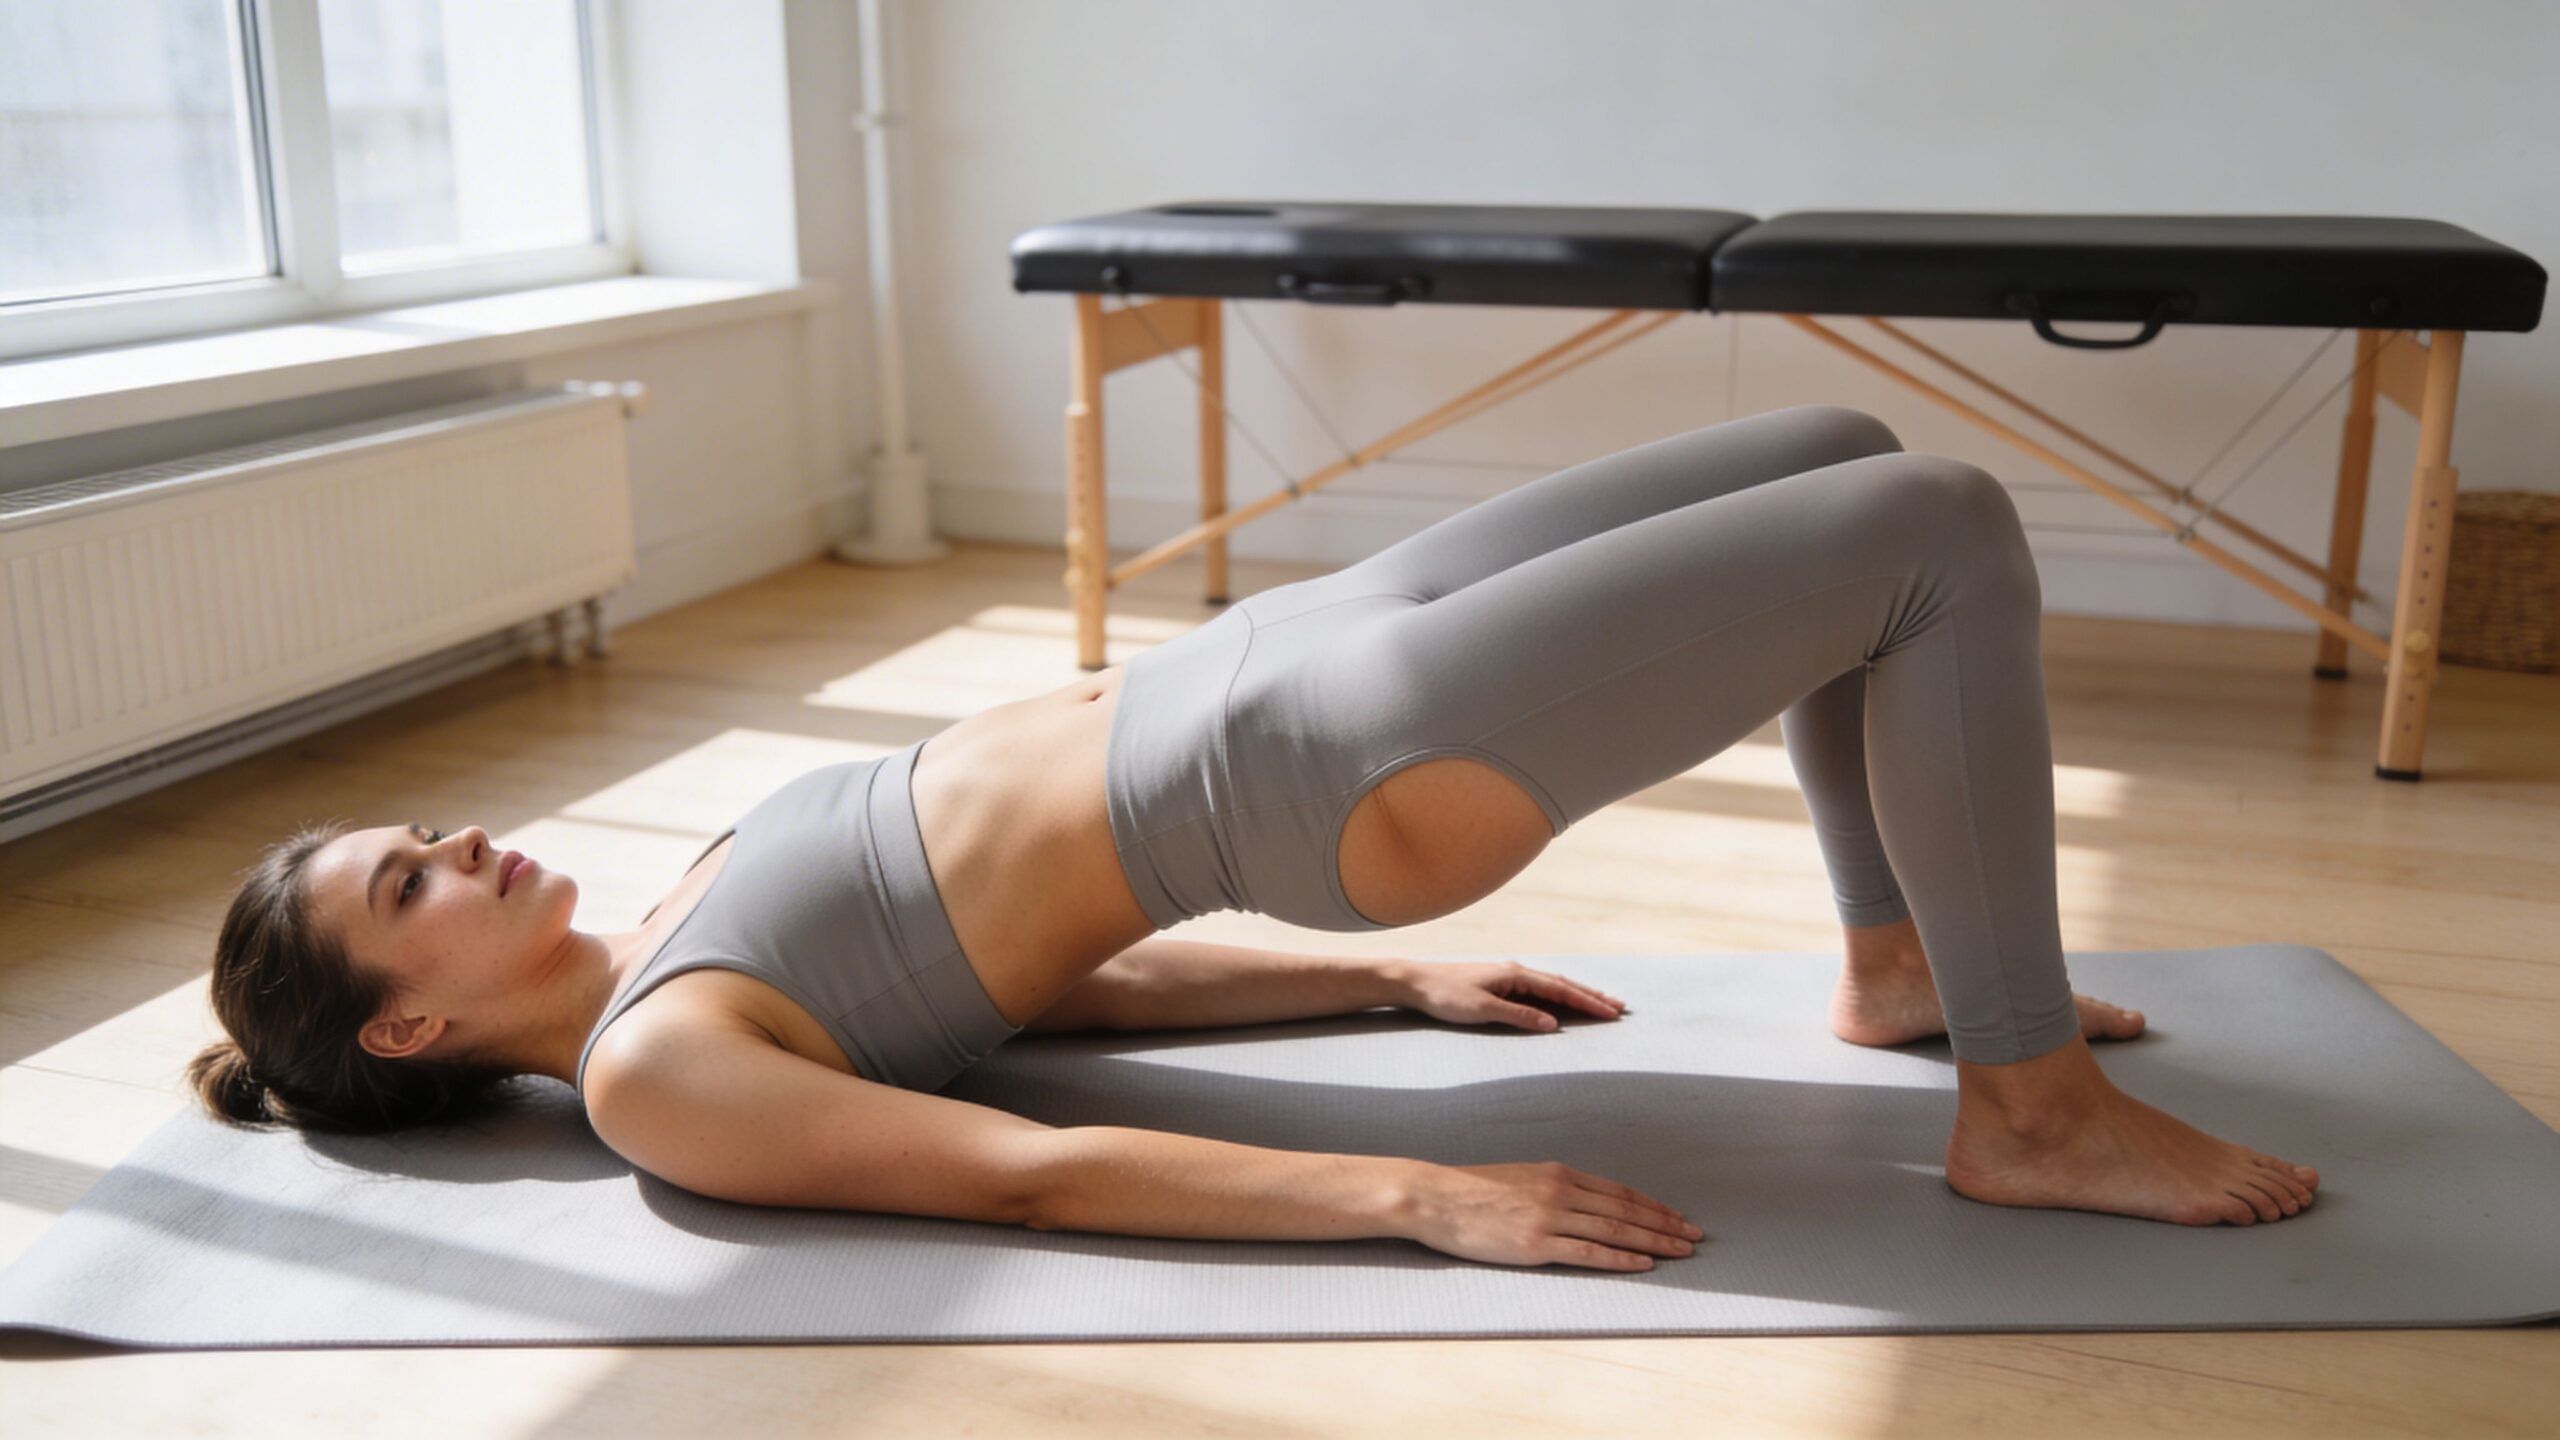
The setup
Lie on your side with the bottom leg bent for support and the top leg straight. Your shoulders, ribs, pelvis, and top heel should all feel like they are in one long line.
Think of your body as being in a narrow hallway. You do not have room to roll backward.
A few setup cues help immediately:
- Stack your hips one directly on top of the other
- Keep your waist long rather than curling your side into the floor
- Point the top kneecap mostly forward instead of turning it toward the ceiling
- Keep the top leg slightly behind your torso if you tend to grip the front of the hip
If your hips feel stiff before you start, improving control usually goes better after some movement prep. This guide on how to improve hip mobility is a helpful complement when mobility is part of the problem.
The movement
Lift the top leg slowly toward the ceiling, but only within a range you can control without rolling the pelvis. Then lower it just as slowly.
That is the whole movement. The details are what make it work.
Use these cues:
- Lead with the heel rather than the toes.
- Keep the toes gently facing forward or slightly down if you tend to rotate open.
- Lift only as high as you can without your trunk helping.
- Pause briefly at the top if you can keep the position honest.
- Lower with control. The lowering phase often tells me more than the lifting phase.
You should feel this in the side of the hip and upper outer glute. You should not feel a pinch at the front of the hip or a strong side-crunch in the low back.
The feeling
Patients usually need reassurance about this. If you are doing lying hip abduction correctly, it may feel harder with a smaller lift.
That is normal.
A clean rep often feels like:
- deep effort in the side glute
- steady trunk pressure, not wobbling
- no jerking
- no swinging the leg up for momentum
An unhelpful rep often feels like:
- front-of-hip gripping
- low back tightening
- pelvis rolling backward
- leg drifting forward with each repetition
For a visual demo, this video shows the basic movement pattern well:
A clinic-level form check
If you want to test yourself at home, place your top hand on the side of your pelvis. As you lift the leg, your hand should not feel the whole pelvis rocking backward.
Another good self-check is to stop the set the moment you lose the target area. More repetitions with sloppy mechanics rarely help. Fewer high-quality reps usually do.
Are You Making These Common Hip Abduction Mistakes?
A lot of people say lying hip abduction “doesn’t work for them.” Most of the time, the exercise is not the problem. The pattern is.
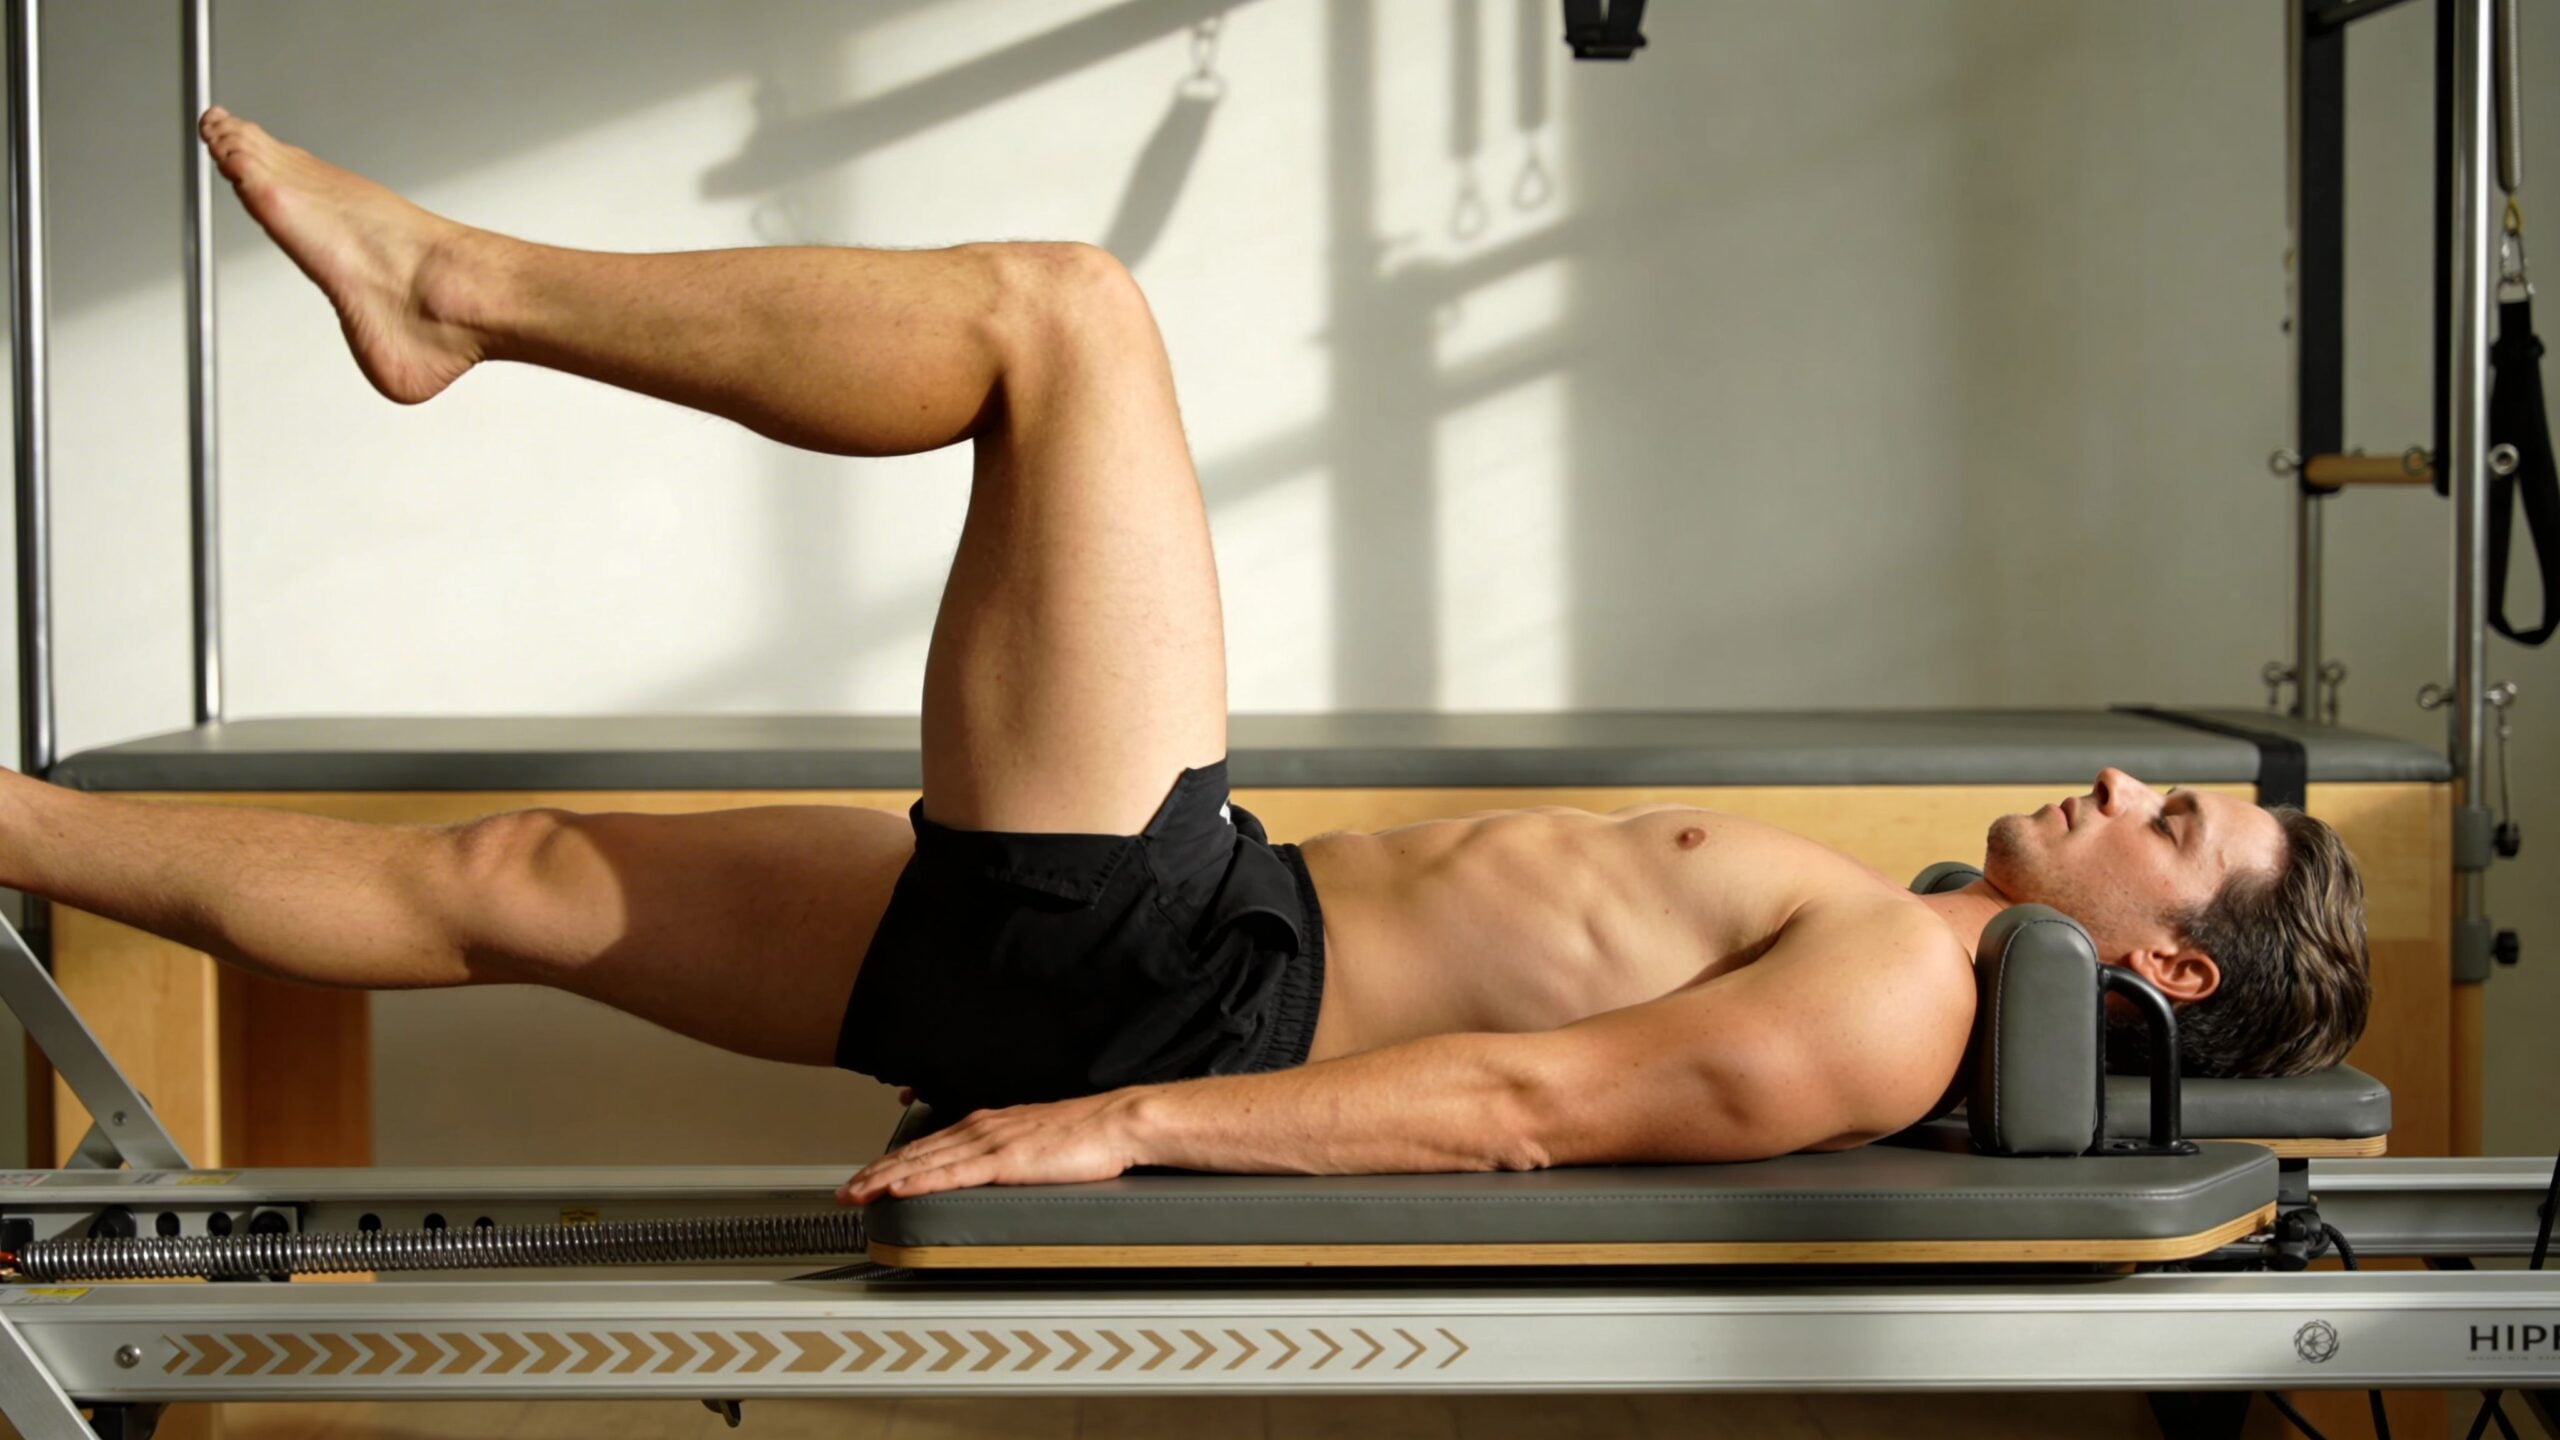
Mistake one Rolling the pelvis backward
If you feel the whole side of your body opening up during the lift, you are probably rotating instead of abducting.
Try this instead: keep your top hip stacked over the bottom hip and make the lift smaller. If needed, perform the movement beside a wall so your back has feedback.
Mistake two Lifting too high
Higher is not better here. Once the range gets excessive, the movement usually stops being clean hip abduction.
Try this instead: aim for a controlled arc, not a dramatic one. Stop when you can no longer keep the pelvis quiet or when the front of the hip starts taking over.
Mistake three Letting the leg drift forward
This is one of the biggest reasons people feel the front of the hip more than the side glute.
Try this instead: line the leg up with your body or keep it slightly behind the midline. A subtle heel-back cue usually cleans this up fast.
Mistake four Using momentum
If the leg snaps up and drops down, your muscles are not learning much. Your body is just completing the task however it can.
Try this instead: slow the first inch of the lift and the last inch of the lowering. That is where control shows up.
Mistake five Adding load too soon
This is the most common progression error I see. People assume ankle weights make the exercise more effective.
Sometimes they just make the compensation stronger.
A study on side-lying hip abduction found that gluteus medius activity stayed relatively consistent across loading conditions, while quadratus lumborum activation increased from 48.94 ± 45.09% MVIC with no load to 82.47 ± 57.36% MVIC at 3% body weight and 92.05 ± 65.93% MVIC at 5% body weight. The GM/QL ratio dropped from 1.78 ± 1.47 without load to 0.93 ± 0.60 at 3% body weight and 0.85 ± 0.45 at 5% body weight, which tells us added load can push the work toward compensatory stabilizers if the pattern is not solid first, according to this study on external load during side-lying hip abduction.
Master the bodyweight version before you reach for the ankle weight. If load makes your low back work harder than your hip, it is not a progression. It is a detour.
A quick troubleshooting table
| If you feel this | It usually means | Try this |
|---|---|---|
| Front of hip burning | TFL takeover | Bring the leg slightly back and reduce height |
| Low back tightening | Trunk compensation | Exhale, stack ribs over pelvis, make the rep smaller |
| Nothing at all | Too much momentum or poor setup | Slow down and reset hip position |
| Cramping on the outside | Muscle fatigue or over-gripping | Shorten the hold and focus on smoother reps |
Smarter Progressions From the Floor to Your Feet
Lying hip abduction is a starting point, not the finish line.
That matters because daily life and sport happen upright. You do not run, cut, lift, or carry a child while lying on your side. A strong rehab plan has to connect floor-based control to standing stability.
A common gap in online advice is exactly that missing bridge. This piece on the progression from isolated work to real movement highlights why standing and single-leg work matter if you want the exercise to transfer to walking, running, and cutting.
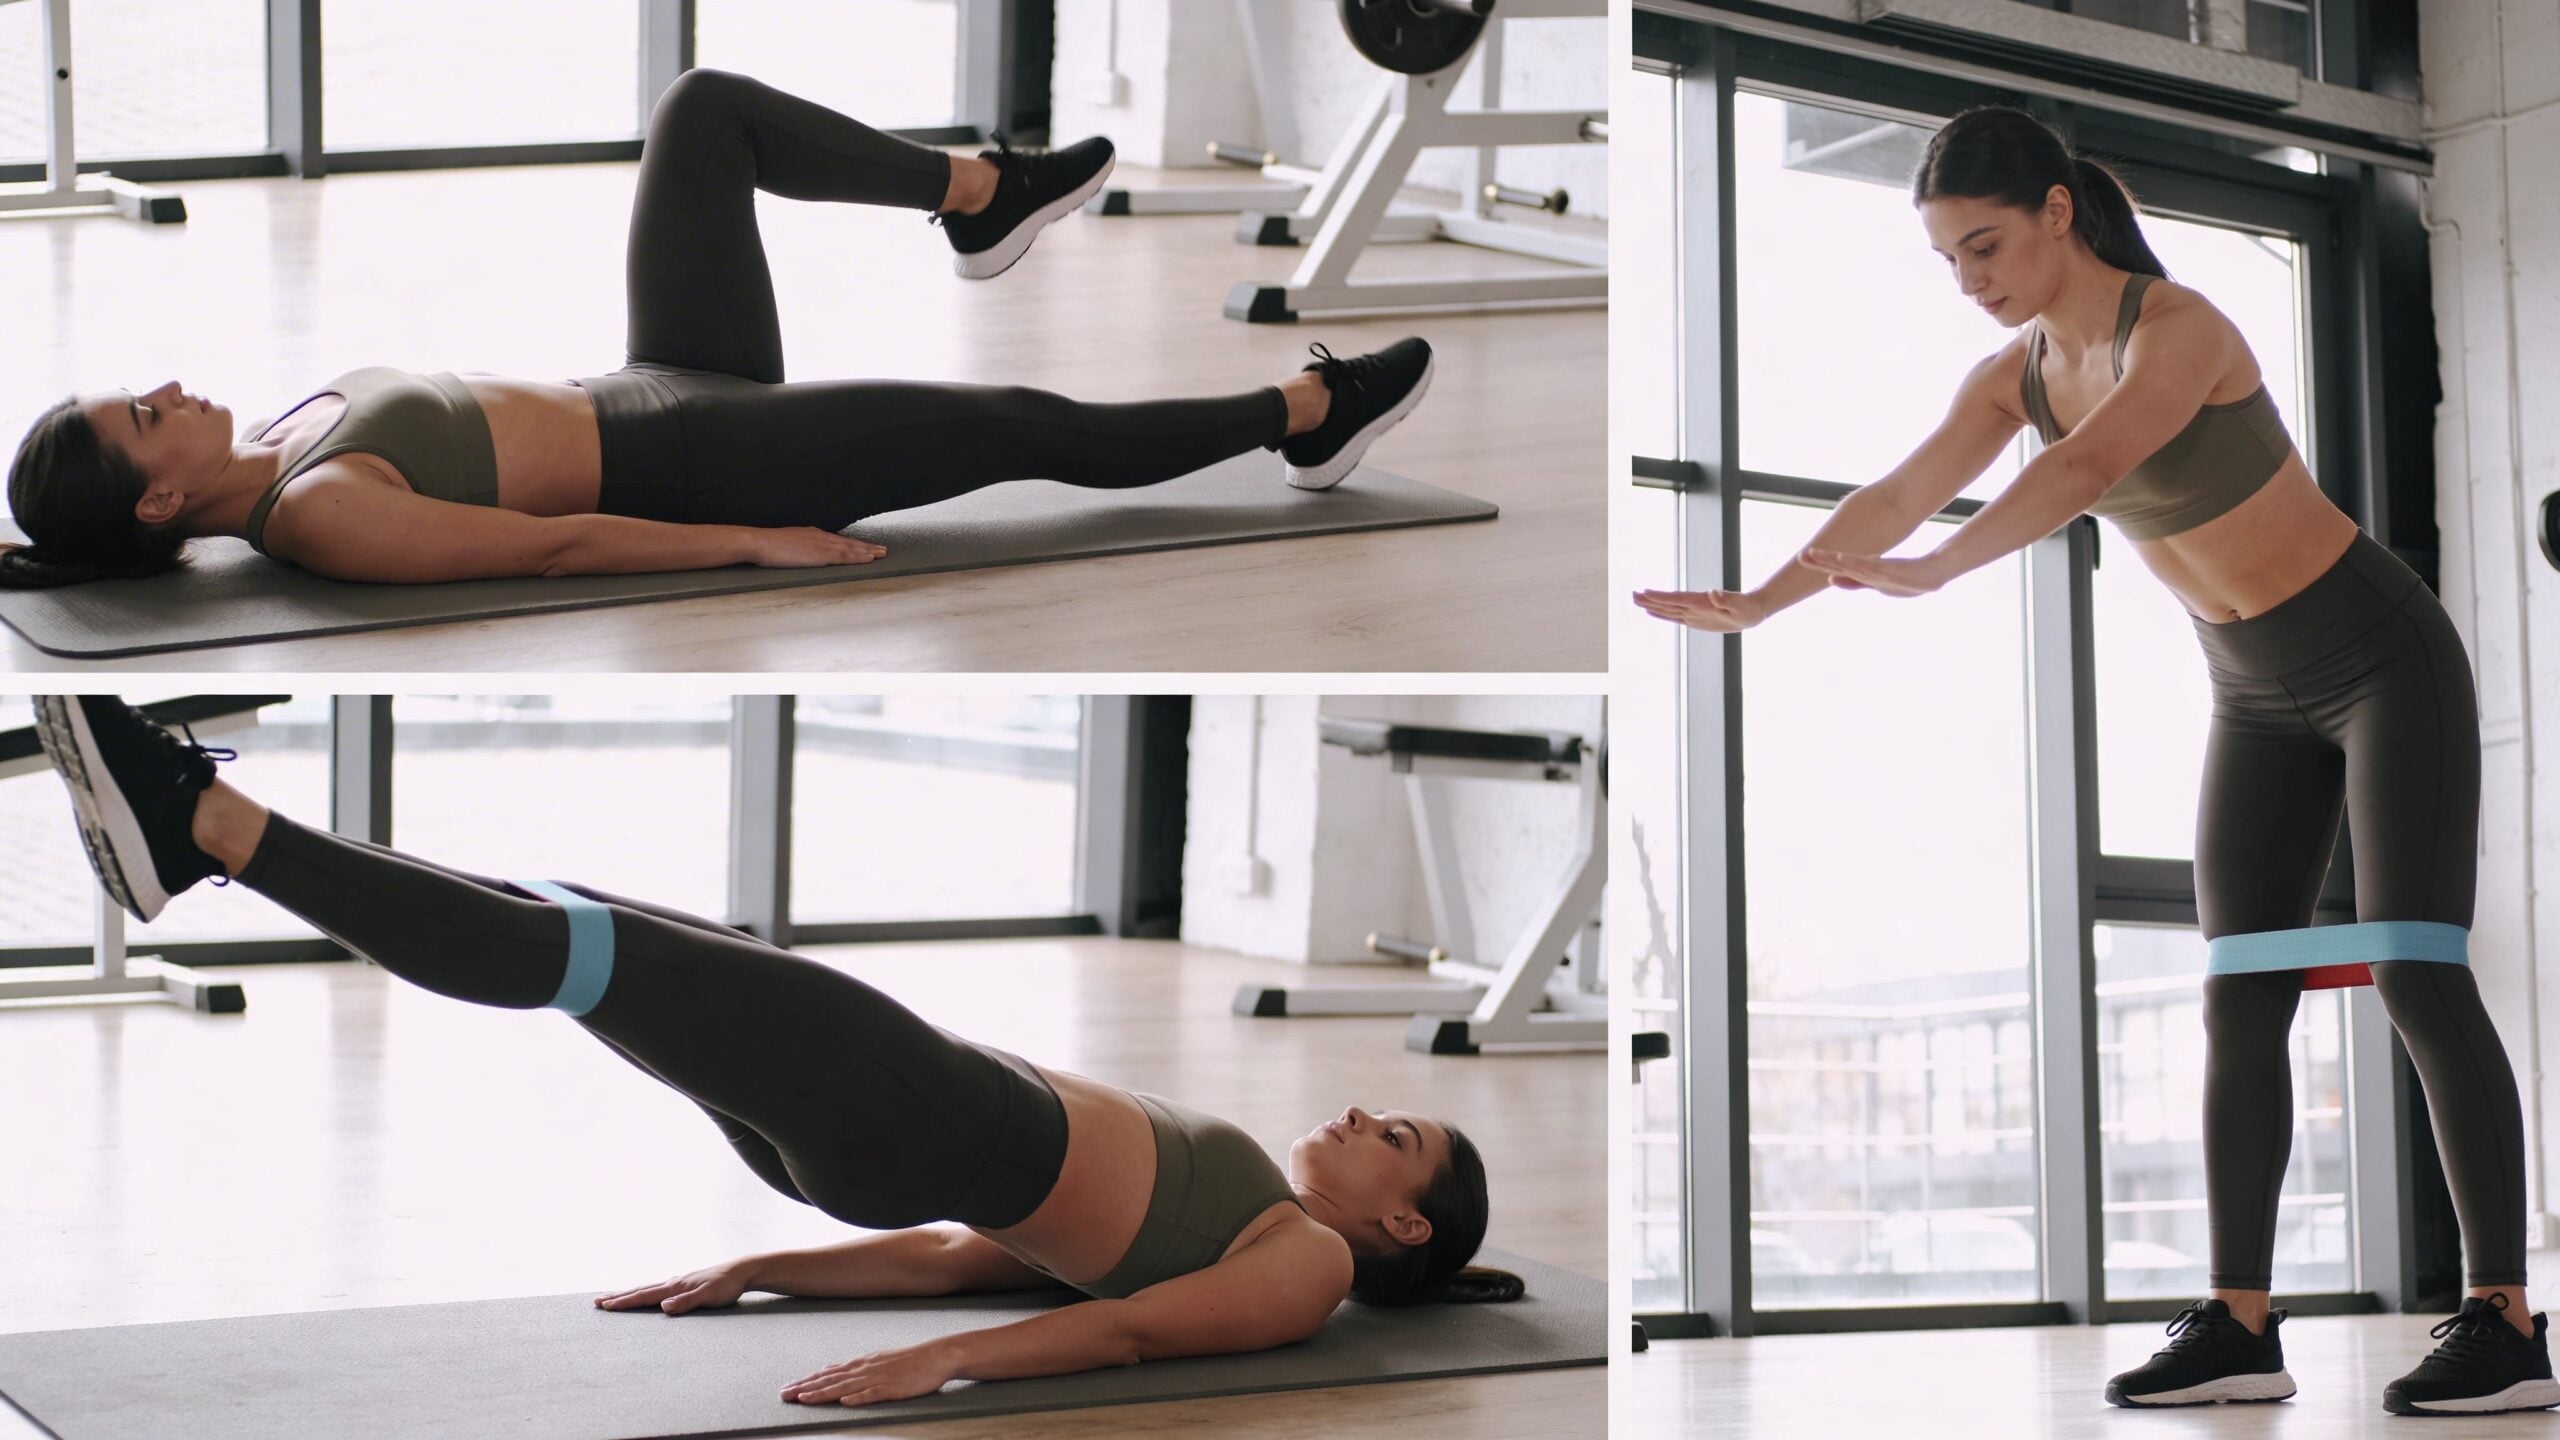
If the floor version is still too hard
Start by making the pattern easier, not by forcing bad reps.
A few useful regressions:
- Shorter range of motion if pain or stiffness shows up early
- Clamshells if a straight-leg lever is too demanding
- Manual feedback from your top hand on the pelvis to prevent rolling
- Breath-first reps for people who brace too hard and lose control
When you are ready to move on
Once you can keep the pelvis stable and feel the side hip doing the work, progress into positions that look more like life.
A practical sequence often looks like this:
- Lying hip abduction
- Standing hip abduction with support
- Lateral band walks
- Single-leg balance drills
- Step-downs or lateral step work
- Running, cutting, hopping, or sport-specific drills
Each step asks the gluteus medius to do the same essential job in a harder environment. The floor gives you support. Standing takes some of it away. Single-leg work demands that you manage your pelvis against gravity.
What each progression teaches
Standing hip abduction teaches control while the trunk is upright.
Lateral band walks add sustained tension and challenge pelvic positioning across multiple steps.
Single-leg balance exposes whether your hip can stabilize you when the other foot leaves the floor.
For athletes who also care about knee and cutting mechanics, programs that address landing, balance, and deceleration matter too. This overview of an ACL prevention program fits well once basic hip control is in place.
If you are strong on the table but shaky on one leg, you are not done. Strength has to show up where you live and move.
Your Guide to Sets Reps and Frequency
There is no perfect universal prescription for lying hip abduction. The right dosage depends on why you are doing it.
Pain reduction, postpartum recovery, and sports performance all ask for slightly different programming. The common thread is this. Quality first, then volume, then resistance.
A simple way to think about programming
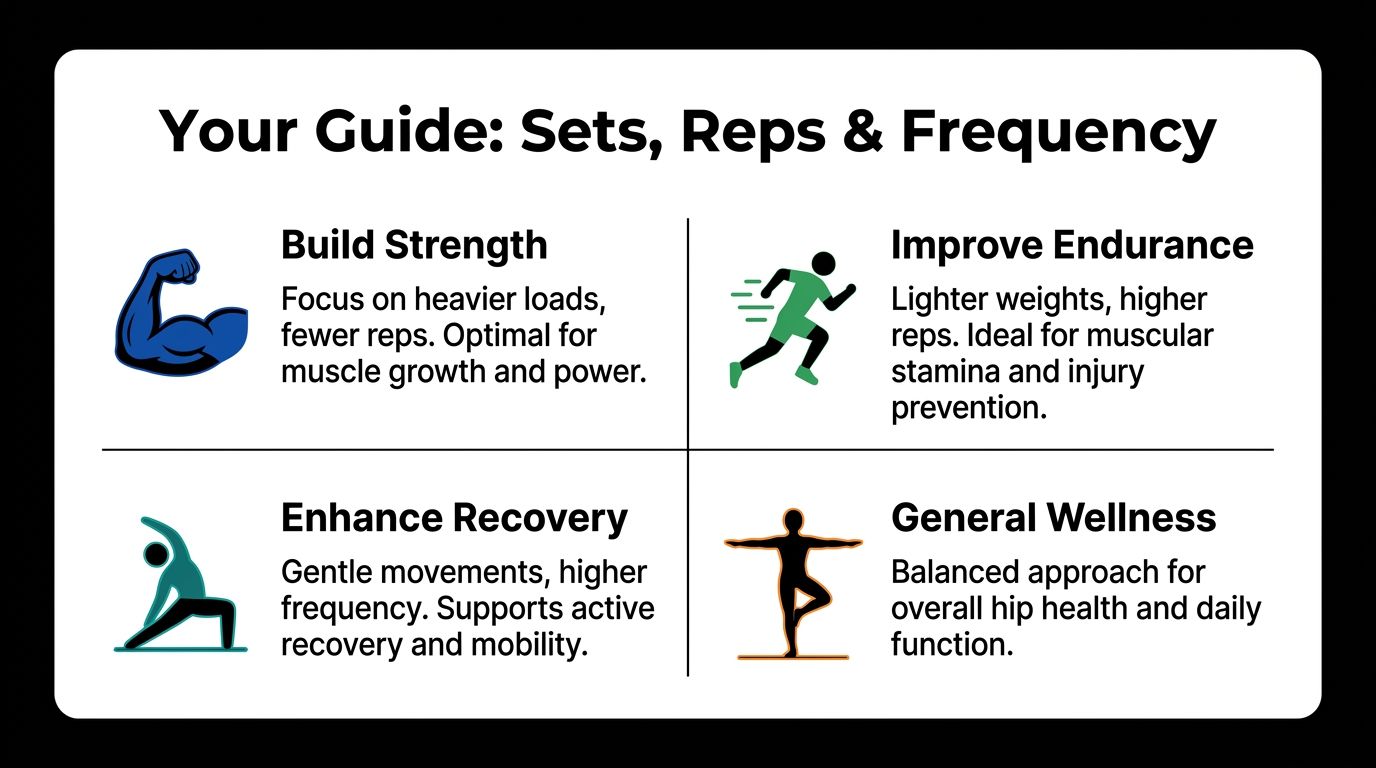
Use these buckets as a practical guide:
For pain reduction
Start with low load and clean reps. Aim for controlled sets that stop before form breaks down. This builds tolerance and motor control better than grinding through fatigue.For postpartum recovery
Pair the movement with breath control and trunk awareness. Fewer, more deliberate repetitions usually beat high-volume sets when coordination and pressure management are part of the goal.For athletes and active adults
Once the bodyweight pattern is sharp, use resistance thoughtfully and connect it to standing drills. The exercise is useful, but only as one piece of a larger lateral hip strength plan.For general wellness
A moderate routine done consistently often works best. If it fits into your week and you can maintain strong form, it is more likely to help.
What progress looks like
At home, progress usually looks like cleaner reps, less front-of-hip gripping, better balance, and less irritation with walking or workouts.
In the clinic, we can also measure strength more objectively. For hip abduction, normative isometric strength values measured with a handheld dynamometer are around 300 to 400 Newtons for males and 200 to 300 Newtons for females, according to this summary of hip abduction benchmarks. Those numbers are not a goal for everyone, but moving toward them can help show that hip stability is being rebuilt.
Practical dosing rules
Rather than forcing one rigid program, use these decision rules:
| Goal | Emphasis | What to watch for |
|---|---|---|
| Pain relief | smooth reps, low irritation | stop if the pattern gets sloppy |
| Early rehab | control and positioning | no pelvic rolling, no front hip pinch |
| Strength building | resistance after mastery | added load should not shift work to back or TFL |
| Performance | transfer to standing drills | strength should carry into single-leg function |
If your reps look worse by the end of the set, the set is too long or the exercise is too advanced right now.
Frequency usually matters more than heroic effort. A manageable routine performed consistently beats occasional high-effort sessions with poor control.
Safety First and Your Next Steps
Lying hip abduction is a useful exercise, but it is not something to force through sharp pain.
Be cautious if you are early after hip surgery, if side-lying itself is not tolerated, or if the movement creates pinching in the front of the hip, radiating symptoms, or obvious low back aggravation. In those cases, the issue may be positioning, or this may not be the right entry point yet.
For athletes, the bigger picture also matters. Hip strength is not just about feeling stronger in one exercise. It has to relate to performance and injury risk. In hockey players, an adductor-to-abductor strength ratio below 80% is linked to a 17 times higher risk of adductor strain, while a 90 to 100% ratio is a key return-to-sport benchmark in the research on hip strength ratios and adductor injury risk.
A physical therapist can help sort out whether your issue is weakness, compensation, pain sensitivity, mobility restriction, or a combination. They can also use dynamometry and movement testing to give you a clearer baseline than guesswork alone. If you want a broader sense of what falls under this kind of care, this overview of orthopedic physical therapy is a good place to start.
If lying hip abduction keeps irritating your hip, if you cannot feel the right muscles working, or if you want a plan that progresses from rehab to real-life movement, Joint Ventures Physical Therapy can help. Their one-on-one care model is built for exactly this kind of problem solving, whether you are dealing with pain, returning to sport, or trying to move with more confidence again.